
We continue with our articles on iOS 6, and more specifically on Mail. We are going to complete the monograph on the native iOS mail client with the explanation of how to add rich text and attach images to an email. Our emails do not have to be monotonous and flat for the simple fact of having created them with our iPad. We can add bold, italic or underlined text, we can increase the citation level, and we can insert images from our reel directly, and all without leaving the Mail application.

We have our email, with plain text. To highlight any part of it by formatting it, you only have to select part of the text. To do this, click on the text to be marked and hold down until the select option appears, and select the part to be highlighted. Then the format options will appear.
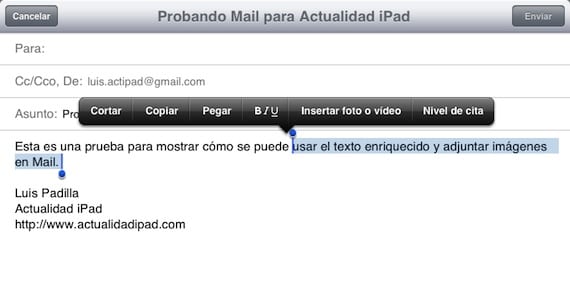
From the options, click on "BIU" and we can highlight the text with bold, italic and / or underlined.
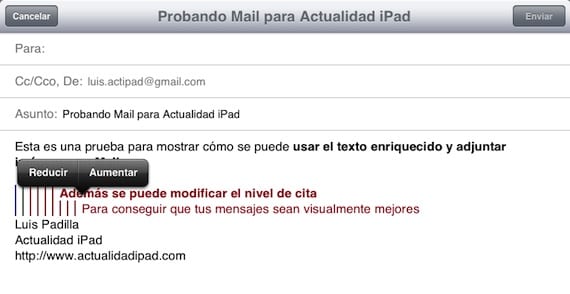
If we want to increase or decrease the appointment level, select "Appointment Level" and click on the options so that it is to our liking. The color of the text will also change automatically, as well as its format, to differentiate the different levels.
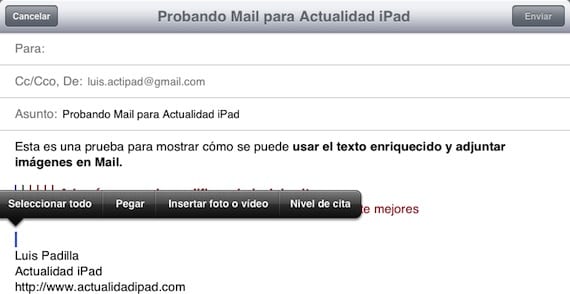
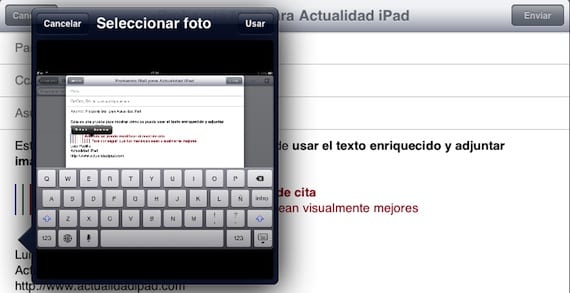
Finally, if we want to add an image, we select the option "Insert photo or video" and we choose it from our reel. The image will be inserted in the place where we have marked. We can modify the size of the image just when we send the message, offering us from the real size to a smaller size so that the email does not weigh too much.
In the end we will have a more visual message, and without having left the Mail application at all. Do you want to know the rest of the Mail functions that we have talked about?
- Marked: a very useful mailbox of our email
- How to move messages to different mailboxes in Mail
- Create signatures for each Mail account
More information - Marked: a very useful mailbox of our email, How to move messages to different mailboxes in Mail, Create signatures for each Mail account
This post is very good, the bad thing is that only on iPad can you