Creating your own alarm system is easier than ever thanks to HomeKit and Aqara accessories, with which you can design a security system adapted to your needs, without monthly fees and for very little money.
The purpose of home automation is to make our daily tasks at home easier, and although it has a reputation for being an "expensive whim", the reality is that it can help us save a lot of money. Did you know that you can create your own integrated alarm security system in your home that is fully HomeKit compatible? Well, it is quite simple and it will also cost you very little money with Aqara devices that have an excellent quality-price ratio.
Requirements
To set up your security system with Aqara you need to have, in addition to a HomeKit center (Apple TV or HomePod) that allows you remote access and be able to add devices to your home automation network, a Hub or bridge to which the accessories of Aqara. Most devices from this manufacturer do not connect directly to HomeKit, but rather through that Hub. What's more must meet the requirement to support the HomeKit Security System feature. That meet these two requirements we have two accessories:
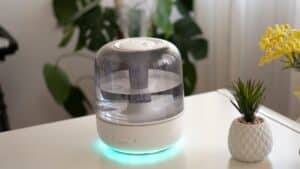
- Aqara M1S: Hub with integrated speaker and light. It is priced at €56 on Amazon (link). You can see the full review at this link.
- Aqara Camera Hub G3: a camera with advanced features and compatibility with HomEKit Secure video. Its price on Amazon is €155 (link). You can see the full review at this link.

As Aqara centrals, both devices are perfect and will make the accessories you connect to them also compatible with HomeKit. As an alarm system, they are different. The Aqara M1S is a more powerful speaker with a more powerful light. The G3 Hub camera in these two aspects is more limited, but in return it is a camera with very advanced functions with facial recognition, motion sensor, motorized... It all depends on what you need.
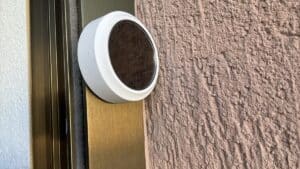
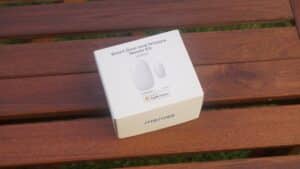
Once you have the control panels, you only have to decide which Aqara accessories you can use as detectors that will activate the alarm if necessary. Vibration, water leak, movement, door or window opening sensors... For this analysis we are going to test the door and window opening sensor and the motion sensor, two fundamental elements in any alarm system.
Configuration
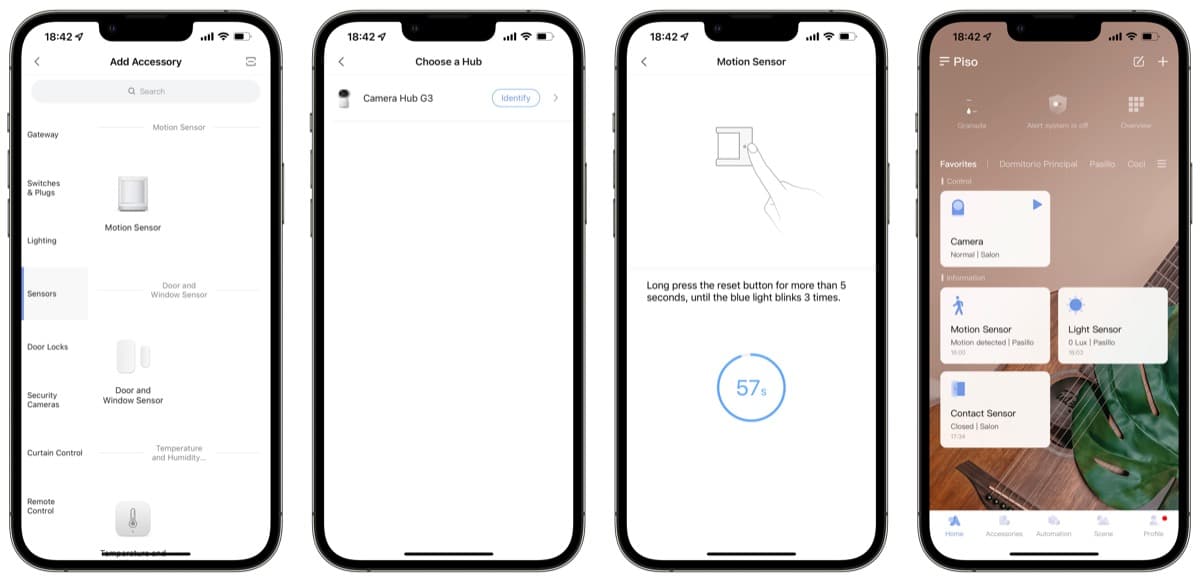
For the process of configuring the Hubs, I refer you to the reviews of each of them that I indicated above with their links. Once configured, we must add the Aqara accessories that we want to use, the motion sensor and the door and window sensor. They must be added from the Aqara application and linked to the bridge that we have installed. Once added to our Aqara network, they will automatically be added to Home and HomeKit, without having to repeat the setup process.
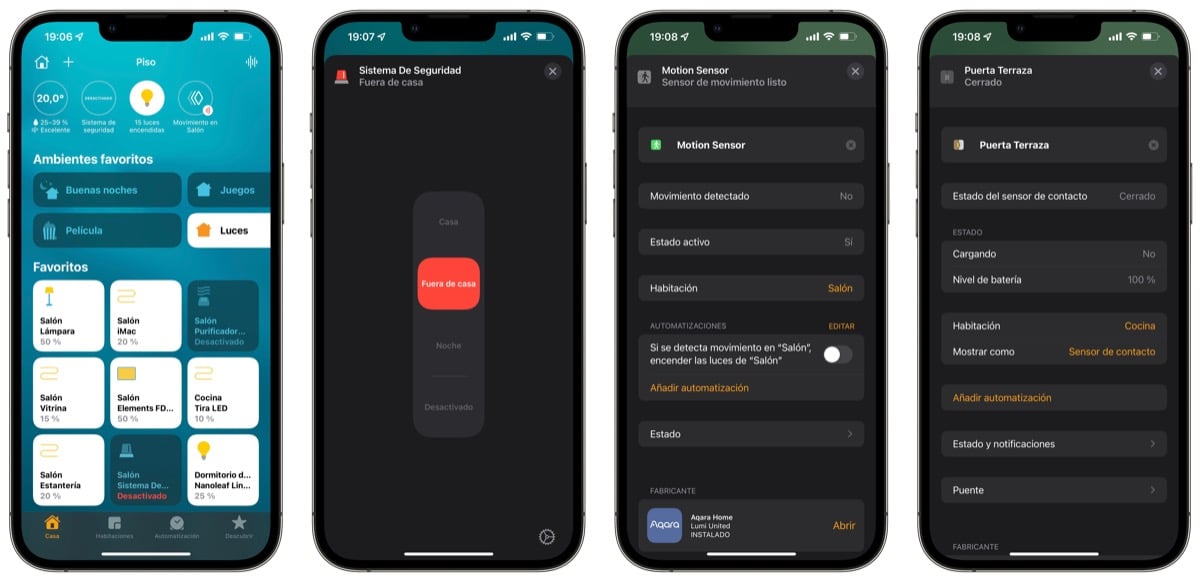
Now we have to configure the alarm system, something that we will also do in the Aqara application. On the main screen we have it at the top center, and When entering for the first time, the four alarm modes will appear with four red marks, indicating that they are unconfigured.
- 7/24 guard: always activated. It is used for sensors that must always be working, such as the water leak sensor. It cannot be disabled.
- Home Guard: system activated when we are at home. For example, sensors that we have in the garden.
- Away Guard: system activated when we are away from home.
- Night Guard: system activated at night.
We do not have to configure all of them, only the one or those that we are going to use. In this example we are going to configure the Away Guard. When clicking on it, the configuration options will appear, including an activation delay to give us time to leave the house, the section in which we must choose which sensors should work with this mode active, a delay in the alarm when something is detected, so that it allows us to enter the house and not sound immediately, and also the sound that we want to be emitted. For more details on the configuration, take a look at the video where you can see everything step by step.

HomeKit
And when does HomeKit come into all of this? So even though we haven't touched the Home app at all so far, everything we've been doing in the Aqara app has been reflected in Apple's native app for HomeKit, and not only will we have the motion and door sensors added, but the alarm system will be configured and we can activate and deactivate it in all the modalities that we have configured. All the configuration of the alarm system will have to be done in Aqara, any modifications you want to add too, but the control of it can be done entirely at Home.
Being in HomeKit we have all the advantages of its integration with the system, so we can use Siri on any device to activate the alarm, we will have remote access from anywhere, we can use automations, etc. When the alarm is active and the motion sensor detects something, or we open the door with the door and window sensor, the alarm will go off emitting the sound that we have chosen and with a flashing red light. In the event that we are not at home and we do not hear the alarm, we will receive a critical notification, which sounds even when the Do not disturb mode is active. Our home alarm system will already be in operation. And we can add more devices whenever we want, without having to pay any type of monthly fee.