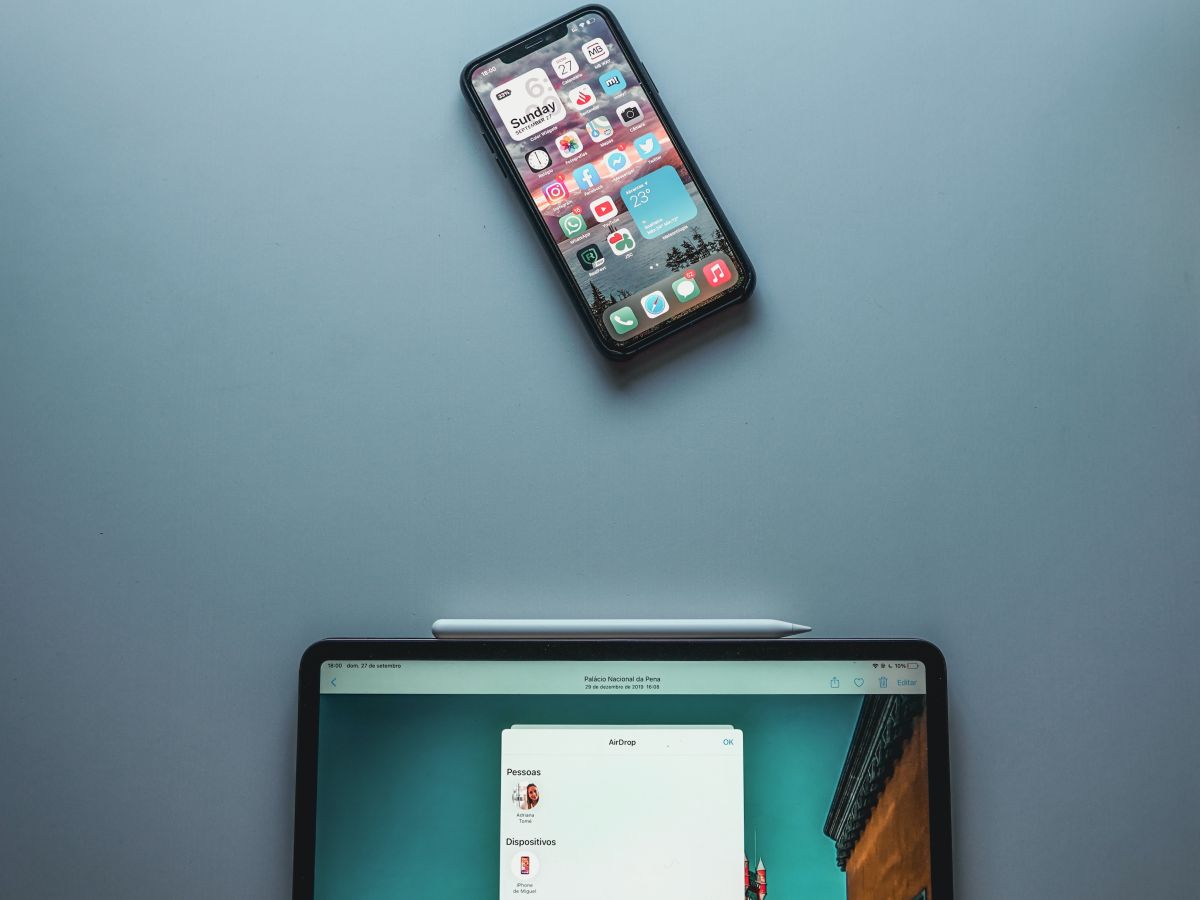
Surely on more than one occasion you have wanted to be able record on video how you have finished your favorite game, on the iPhone or iPad, to be able to post it on YouTube or simply to send it to your friends. Or how many times have you thought that the best thing would be to record a video of the screen of our iPhone to explain what to try to explain over the phone to your friend or family member to see the steps to follow without being desperate for half an hour on the phone because they do not quite understand it that you explain.
Thanks to Yosemite and iOS 8 all this is possible, since without having to install any third-party appAs was the case before, we can record everything that happens on our devices, be it iPhone, iPad or iPod Touch. After jumping we show you a small tutorial of
Apart from having Yosemite installed and iOS 8, we must have a device with a Lightning connection, iPhone 5 or higher, iPad 4 or higher, any fifth generation iPad Mini and iPod Touch. If we meet the requirements, we can now use the QuickTime application to record the screen of our devices.
- To do this, we go to the launpad and we look for the folder Others. Inside the Others folder, click on QuickTime. At this time we must connect our iDevice to the Mac using the Lightning connection cable.
- The next step is to go to the menu at the top of the screen and click on Archive. Within this menu we will select New video recording. The QuickTime window will open in black and we will go to the record button located at the bottom of the screen and which is represented by a red circle. Right on its right we will find a drop-down tab that we must click to establish within the Camera section, the origin of the video, which in this case would be the iPhone, iPad or iPod Touch that we have connected to the computer.
- In the next section called Microphone We must specify if we want to use the microphone of our Mac or the sound that our device reproduces. This last option is the ideal one if we want to record game videos. On the other hand, if what we want is to record tutorials on the operation of our device, we must select the microphone of our Mac.
- Finally, in the last section we will find the Quality section, where to establish the quality of the recording that we are going to make. Of course, the higher the quality, the more space the recording will occupy.

Interesting! Unfortunately I don't have a MAC and I couldn't do it, but I do it using REFLECTOR and Camstasia to be able to record videos from my iPhone screen.
If you don't have a mac, that would be the best alternative.
Ismael Hernández Pedraza this
I did it and it worked perfectly! Thanks.