Our Apple ID is the epicenter of all the procedures that we must carry out with regard to our iOS devices, as well as any issue related to guarantees or technical support requests, that is why it is important to know well how we can activate and manage our devices assigned to an Apple ID in question.
When you are new to this Apple environment or simply because you have never needed it, it can become a bit difficult task, that's why We are going to show you how you can manage your Apple ID as well as the devices assigned to it in a few simple steps that will make this task as easy as possible.
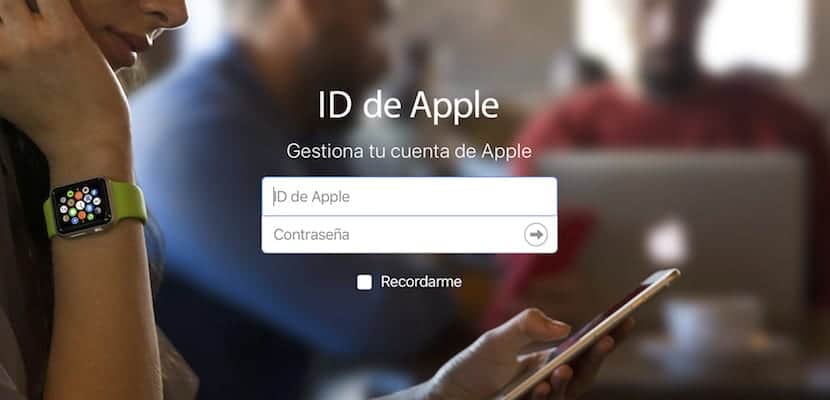
We must start from the first place by explaining: What is our Apple ID? The Apple ID is the account you use to access Apple services such as the App Store, Apple Music, iCloud, iMessage, FaceTime, etc. Additionally, you can log into all Apple services with a single Apple ID and corresponding password. Unfortunately, not a few users forget the convoluted password that Apple forces us to configure in our Apple ID (which must induce uppercase, lowercase, numbers and letters as a minimum), which turns into a total suffering both activating a device and downloading applications through any of its App Store (blessed Touch ID). To access all the management sections of our Apple ID we must access through THIS LINK.
How do I edit or configure my personal data?
Once we have logged in, we access the section of management of our Apple account. The first section is that of Account data, where we will be able to configure the following parameters:
- Name
- Date of birth
- Location data: email and email accounts
- Preferred language
- Country and region of habitual residence
It is advisable that we keep our data in this section updated in order to obtain correct data when conducting transactions with Apple.
Customize and improve the security of your account
Inside the section fullfilment of security requirements we will be able to manage the four basic configurations that will allow us to provide our account with the necessary security to be able to enjoy our Apple account in good conditions. It is important that we manage this section in great detail so as not to lose our account due to carelessness.
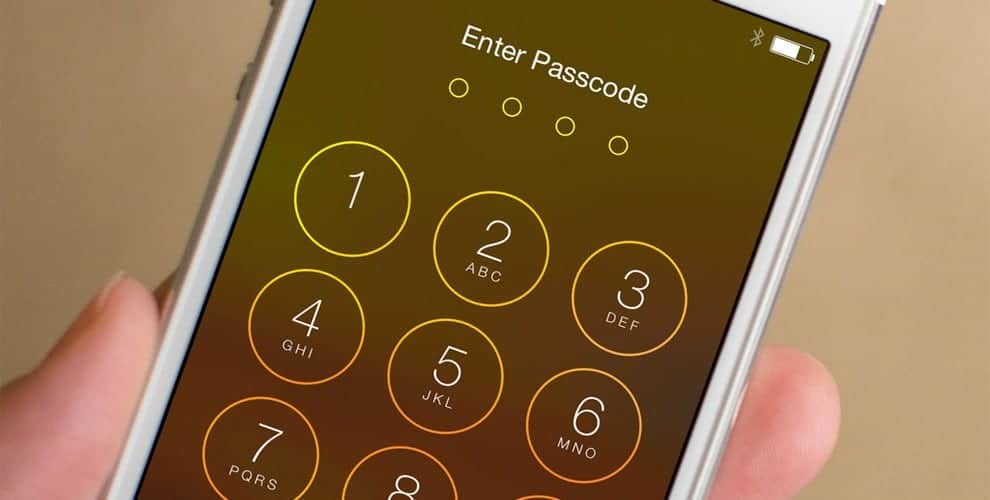
- Password: Remember that the password must include at least uppercase and lowercase letters, as well as numbers.
- Recovery email: It is important that you add the email of a trusted person here, or your own from another provider in case you lose your password at any time.
- Security questions: These are two questions that on occasion Apple will ask you when you log in to verify that everything is following normal and there are no account thefts.
- Two factor authentication: With two-factor authentication, the account can only be accessed on trusted devices, such as the iPhone, iPad, or Mac. When you want to log into a new device for the first time, you will need to provide two types of information (the password and six-digit verification code that appears automatically) on your trusted devices.
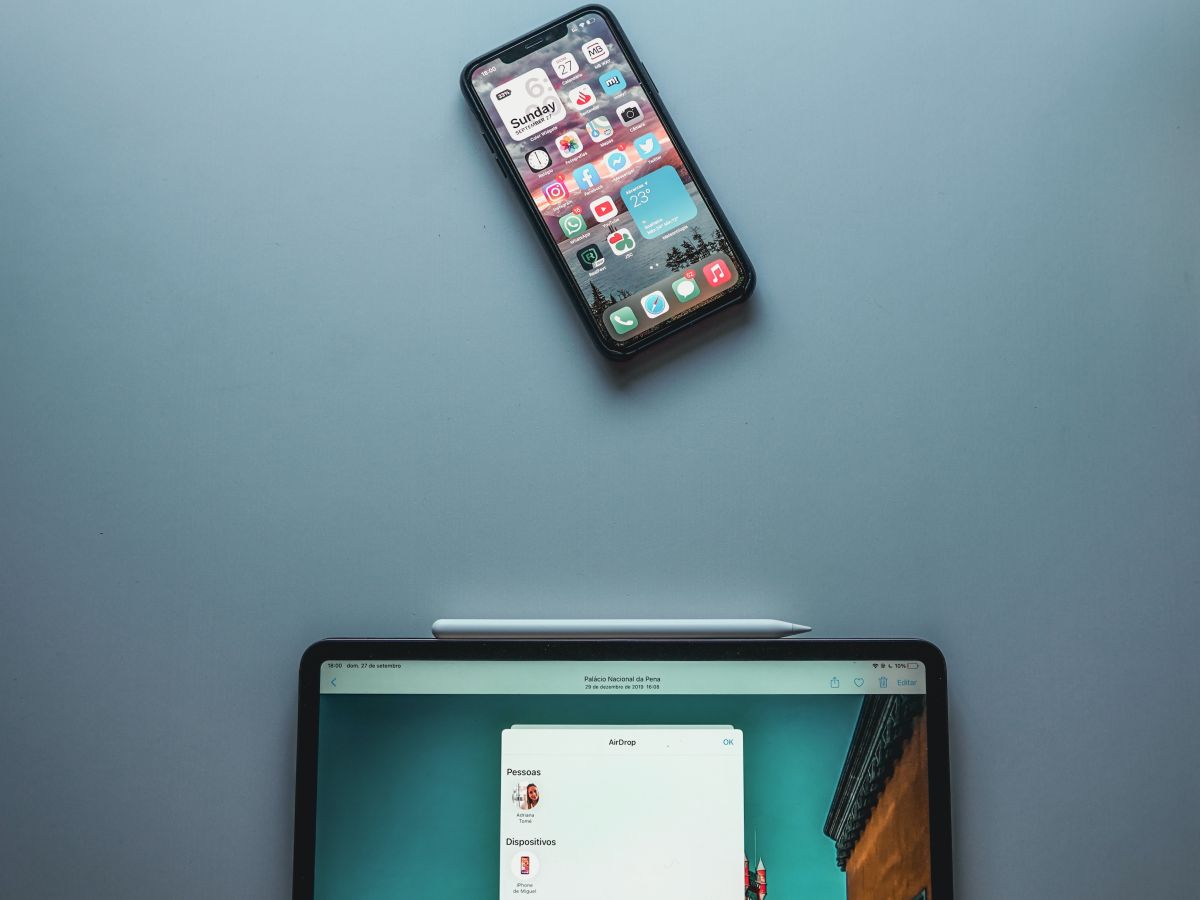
Manage your devices on your Apple ID

Once inside the configuration area we can access our devices, where we will see a miniature of them. When we click on the thumbnail in question, we will be provided with enough information about it.
- Serial number and IMEI
- Operating system version and model
- Managing Apple Pay for a stolen device: Remotely and instantly we will be able to delete Apple Pay data from one of our devices, in this way we will prevent payments from being made without our consent.
Change Apple ID payment and shipping information

Last we will be able to manage our payment and shipping methods also in this section of the Apple website. Among other things we have our personal and shipping data, for when we make purchases through the Apple Store (online or in person), as well as our preferred payment method for software products, that is, our credit card assigned to the Apple ID with which we make payments.
How do I manage my Apple ID from my iPhone or iPad?

You can also manage your Apple ID, although to a lesser extent, from your iPhone or iPad. To do this you must go to the application adjustments, and click on the first option, our account. Inside we will be able to define the same parameters as in the web version, with certain limitations. All this you can configure in your Apple ID from the iPhone (and iPad):
- Name, phone numbers and email assigned to the account
- Password and security
- Payment and shipping
- ICloud account
- Devices
The problem with this method is that it generally works a bit slower and less intuitive than through the aforementioned web.