
iOS continues to advance little by little allowing us to do more and more things, and above all, the things that already allow us to be done slightly easier than before. In this case we bring you the main tutorials for iOS 12.2 with which you can get the most out of your iPhone or iPad, as always in Actualidad iPhone.
We show you how you can manage the subscriptions of all your applications quickly from the App Store, Don't waste any more time and discover how to keep control of all your applications as much as possible. The novelties of iOS 12.2 are coming to us with increasing force and incipient improvements for users.
Without further delay we are going to show you how to manage all these subscriptions both in the operating systems that are still in force and in those to come, because we know that not all users have the latest version of the mobile operating system that the Cupertino company offers to its users and we do not want you to be left out of any possibility for this sole reason, so choose the manual that best suits to your needs within those that we offer you on this occasion in Actualidad iPhone.
How to manage subscriptions from iOS 12.2 onwards
Since one of the last betas of iOS 12.2 this action has been made much easier, for this we simply have to carry out the following steps:
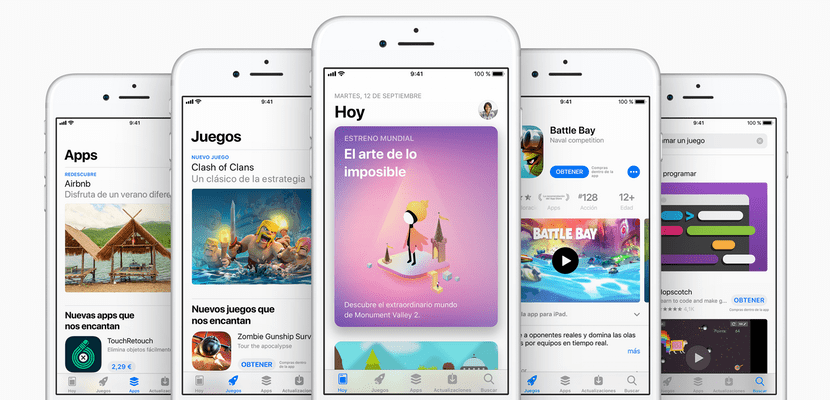
- Open the App Store application from your iPhone or iPad as usual
- Click on the small icon that represents your profile image assigned in iCloud and that is located in the upper right part of the home screen of the iOS App Store
- Scroll down to the section "Manage subscriptions" and select with one touch

That's how easy we will be able to access all subscriptions to which we are subscribed at a single stroke and manage them directly from within. Now we are only going to have to select which subscription we want to configure and get to work with it, but we are going to leave that for a section a few lines below.
In theory some users can see this option also from iOS 12.1.4, but a server does not have it activated nor does it seem that it is a full deployment by the Cupertino company, so for now this is the official way to handle subscriptions in iOS 12.2 but not in the other versions of iOS.
How to manage subscriptions from iOS 12.1.4 or earlier
However, this extremely easy way that we have in iOS 12.2 has not always been so present, this time if we are using iOS 12.1.4 or an earlier version of the operating system of the Cupertino company we will have to follow the steps that we leave you to below to be able to manage at a single glance all our subscriptions:
- Open the settings application from your iPhone or iPad
- Go to the section iCloud account of the first options offered to us in the list
- Access the section account authentication in order to see the rest of the functionalities
- Now we are going to select the option view Apple ID in which you will find another section called subscriptions and that is the equivalent of the previous section and that it is in constant synchronization through our iCloud account

And now once again all these options are offered to us that we are going to select one by one according to our needs to maintain control over the spending we make on these types of features within the App Store.
View, change, or cancel subscriptions
Once we access the subscriptions panel, we will be shown in parentheses how often said subscription is renewed and below a reference with "Renewed on xx / xx / xxxx" with which we are very clear when this action will be carried out. But it is important to know that we will also be able to manage these aforementioned subscriptions directly from the section that we have shown you to access just a few moments ago, this is all you will be able to do when you access subscription management.
- We can change type subscription: If we have different options we will be able to change plans at a glance, such as Apple Music
- We can cancel the subscription: For this we choose the option cancel subscription which is located right at the bottom and colored red. Once we choose the option to cancel the subscription, we will be asked to confirm that we really intend to do so and we will proceed with our request.
The subscription will remain active even if we cancel it until the requested billing period ends, and that's how easy it is since Actualidad iPhone we want to teach you how to manage all your subscriptions to the applications available in the iOS App Store. We hope it has been useful for you and do not forget to leave your comments if you have any questions.

Hi: I must be lucky because with iOS 12.1.4 I can do it just as you can with iOS 12.2.
All the best
We are two !