Who has not received a call from a friend or family member to solve a problem with their device? From how to download an app on the iPhone to how to format a Mac to how to change the wallpaper on your iPad. The truth is that both iOS like macOS are designed in a way very intuitive, and doubts rarely arise if you mess around with operating systems for a long time.
But if it is true that some doubt may arise, why not. To do this, and to not always depend on phone calls, we are going to teach you how to share the screen of your iDevice or Mac with all the people you want to solve the problems in relation to the devices of the big apple.
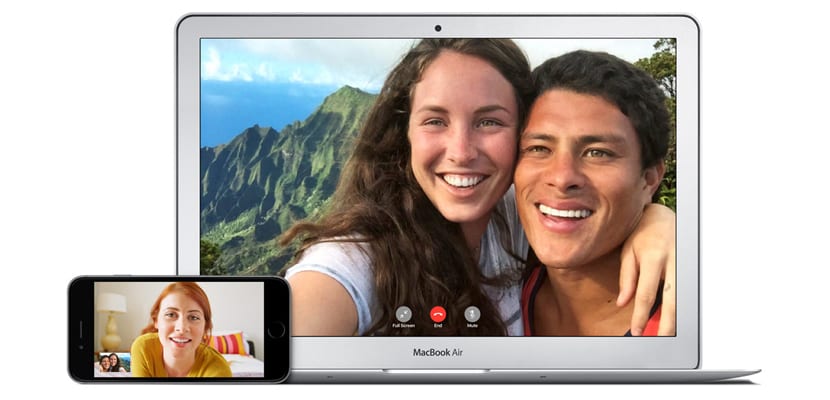
The basics and rudimentary is sometimes the best: FaceTime
If you have two devices you can try to solve the problems of your friends through FaceTime. In addition, as an added advantage, with one hand (or with a tripod) you can hold the iDevice with which you will call while with the other you can do everything you need on the other device.
That is good because sometimes it is necessary to know how to do certain actions in which not only the screen intervenes such as: put a device in DFU or open the multitasking of your iPad through multitouch gestures.
On the other hand, it has its drawbacks: if both the sender and the receiver do not have a good internet connection, the image will appear blurry and therefore the image will not be very effective. transmission And, ultimately, you may not help your friend solve the problem they had.

Share your iDevice screen with your Mac
Although it is not "real-time sharing", another of the most effective tools is to make use of QuicktimePlayer, the built-in macOS player created by Apple. The objective of this way is to record the screen by solving a certain problem. And then there are two ways to send the image:
- Live video: If we do not want to send the recorded video, we can share the screen of our computer with the person in question through Skype or TeamViewer
- Send video: On the other hand, if we want sharing the screen to become a «consult later» we can record the screen and send it later in case the person has doubts about the same case on another occasion
The steps to follow to share the screen through Quicktime are as follows
- Open the player (it is compatible with macOS and Windows)
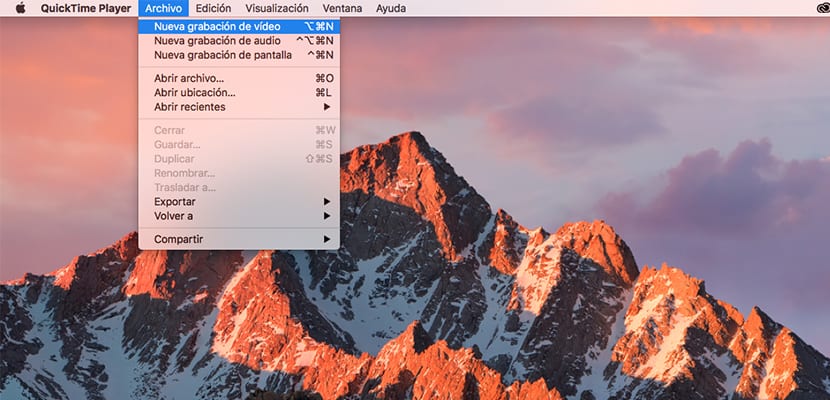
- Next, go to the File menu and select the option «New video recording»

- When a window like the one you see above these lines appears, next to the red record button there is an arrow, click on it and with your iDevice connected via USB to your computer, select the name of your iDevice in the "Camera" menu
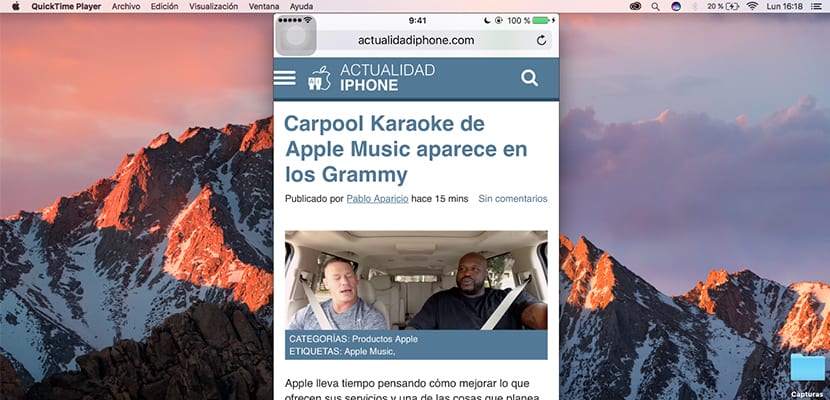
- When it's ready, a new screen will appear (narrower or wider, it depends on the device and its orientation) in which the screen of your device will appear in a few seconds. If you want to record, you just have to click on the red button and later, when you finish, save the recording on your computer.
Cast your Mac screen to another Mac
There is one more option. If your friend or family member has the problem or has a question related to his Mac and you also have one, you are in luck. Why? Because Apple includes a tool called Share screen ó Screen sharing with which we can share the screen of our Mac.
The prerequisites to using this tool are:
- Have the Share screen permission activated in the section Share within System preferences
- Have a valid Apple ID associated with our Mac
Once we have accepted the consent and associated the ID to our computer, it is your turn to open the application with a search in Spotlight. An image like this will appear:
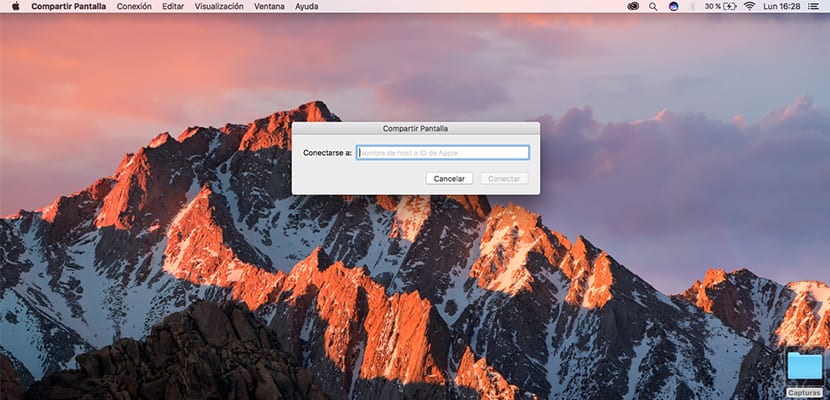
You will have to enter the Apple ID of the person you want to share your screen with. Immediately, the user to whom that ID corresponds you will receive an alert in your macOS notification center in which you can accept or decline the request to share the screen.
Once you have accepted, you will have two options:
- Total control: the person you share the screen with can control it remotely
- Just observe: the user with whom you share the screen will only be able to view it
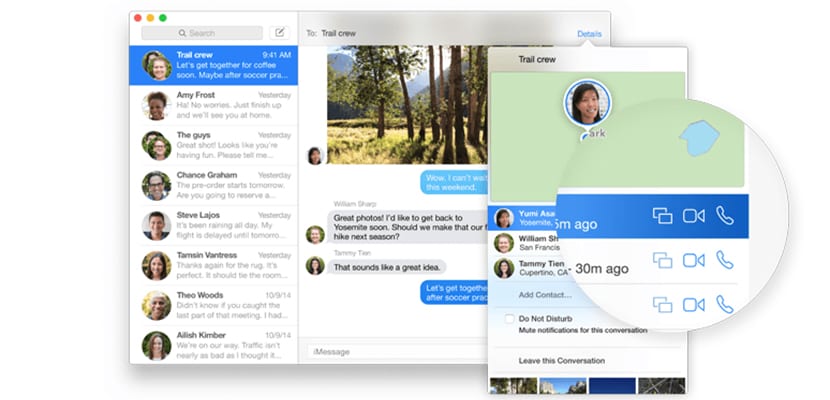
Finally, there is another much easier way to activate Share your screen: through Posts. As you can see in the image above these lines, if you have a specific Apple ID associated with your contacts, you will be able to activate the aforementioned process more quickly and easily.